Baldesion Arsenal:
Late Night Guide

Phone users: landscape orientation recommended
Click on the images to access the corresponding sections:
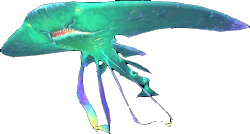
Portals and Ovni
Entrance
Art and Owain
Raiden
Rooms
Absolute Virtue

Proto-Ozma

Support Fate

° Requirements and sign-ups °


• REQUIREMENTS:
- Disciple of war or magic (lvl 70+)
- Elemental level 60
- Logos actions (← click me!)
- Finish Eureka Story and have Baldesion Arsenal unlocked (← click me!)• OPTIONAL:
- Kirin's Osode / Vermilion's Cloak
- 3 additional logos actions lines
Unlocked by giving Aethertight flasks to the Expedition Alchemist in Hydatos base camp. Flasks are looted from Hydatos bunny FATE silver chests


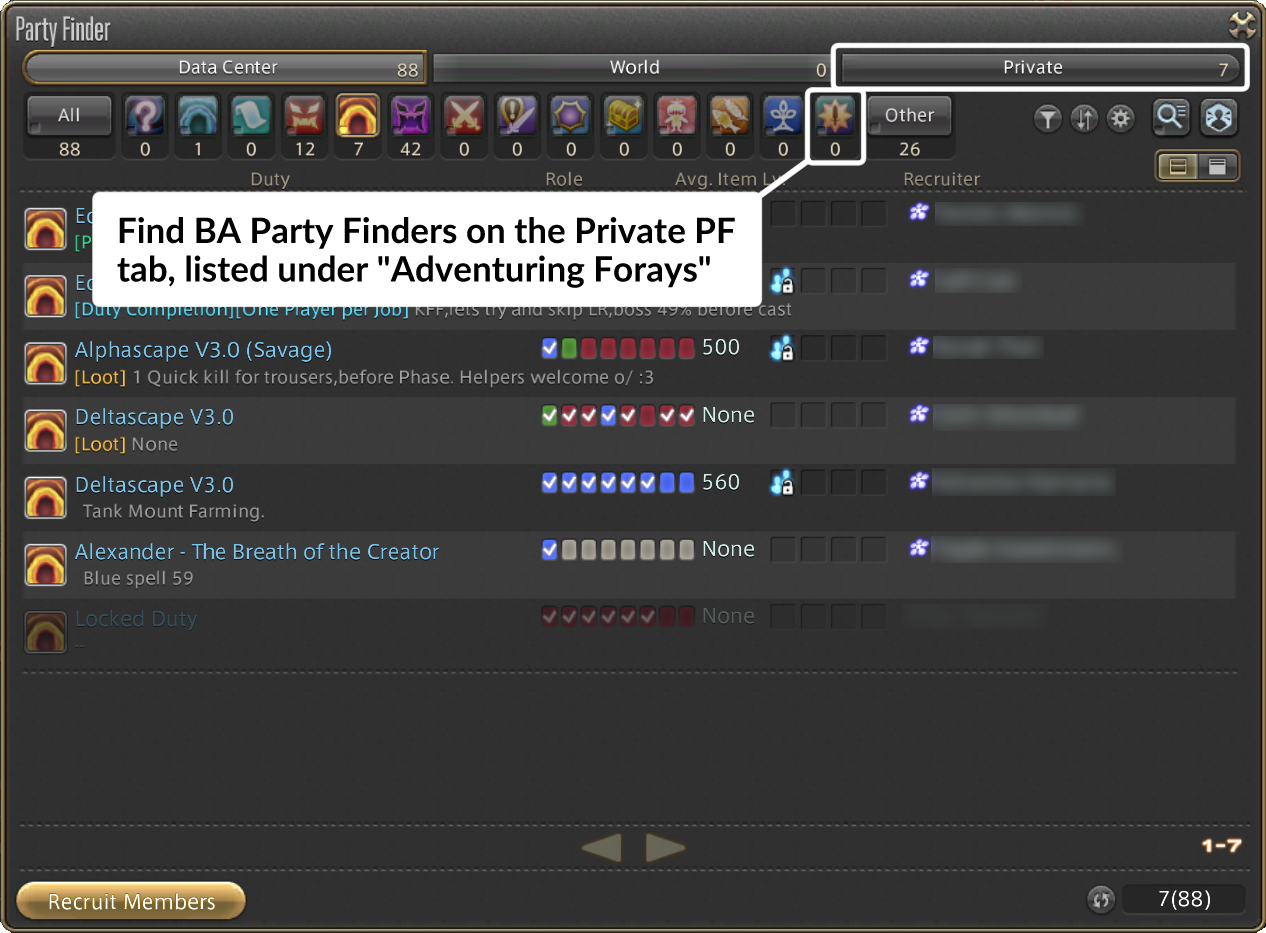
• HOW TO SIGN UP?
- 6 (Main) + 1 (Support) private PFs listed under "Adventuring Forays" category
- Passcode posted in #ba-passcodes 30 mins before prog
No sign ups: first come first served basis
• PRIVATE PARTY FINDER?
° FAQ / Useful infos °
• Duration?
- A prog may last from 1h30 up to 2h30 (depending on OVNI spawns)
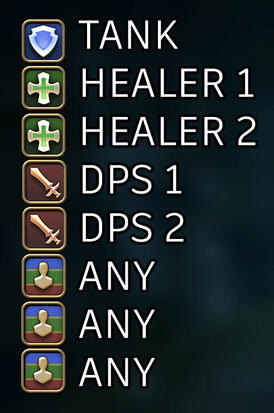
• Alliance composition?
- 7 teams: Party 1 to 6 and Support Party (Support is for Ozma killers only)
- Standard team composition: 1 tank, 2 healers, 2 DPS, 3 FLEX (any)


• How does raise work?
Normal raise does not work in BA, but there are a few special ways to get raised:
- Spirit of the Remembered = 70% chance upon K.O.
- Sacrifice L = 100% chance but user gets "Doom" debuff
(Sacrifice must keep being used until someone's Spirit of the Remembered procs)
- Healer LB3 = 100% chance

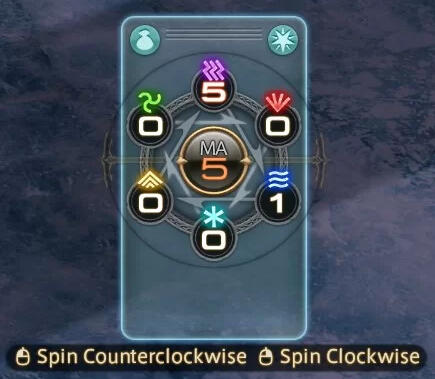
• Logos Manipulator
A Logos Manipulator is located at the entrance of Pyros, Hydatos, and at the entrance of Baldesion Arsenal. It lets you craft logos actions

• Eureka Potion
This object is strongly recommended, especially if it's your first time in BA. It grants a 40s buff which heals you over time
• /Magiaauto ?
Before entering into BA, make sure to have 3 macros:
1. /magiaauto attack
2. /magiaauto defense
3. /magiaauto off
You'll mostly stay in attack (except if tanking), but a switch to defense at the right timing could save your life!

• Positionals?
There are no positionals in Eureka content. Don't try to do them!

• Traps:
- There are several hidden traps throughout the Arsenal
- We need two trappers* to reveal them
- A trap kills anyone who comes in contact with it, as well as nearby people*Trapper: DPS in charge of the logos action "Perception"
Click on the images to access the corresponding guides:

"Wisdom of the Indomitable" guide

"Double Edge" guide

Arsenal enemies bestiary


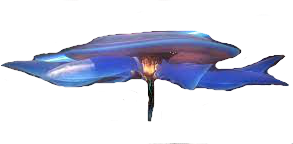
° Ovni °


• Important:
- Ovni regularly grants itself a damage buff with the "Fluorescence" cast. This buff must be dispelled with the logos action "Dispel L"
- It is essential that you stay in the FATE zone when it ends to get the portals buff, without which you won't be able to take a portal for BA
⚠️ If you're dead and you receive a raise right before Ovni's death, don't accept it: wait to receive your rewards and buff before!

• Ion shower
A player is marked with a purple marker. Deadly AoEs will keep on pulsing on the player's location when that marker disappeared
• Fluorescence
Ovni grants itself a stacking damage buff which can be dispelled
• Vitriolic Barrage
Raid wide
• Rock Hard
Telegraphed AoE targeting a random player
• Torrential Torment
Conal telegraphed AoE
• Pull of the Void
Ovni pulls nearby players, followed by Concussive Oscillation or Megastorm
• Concussive Oscillation
Circle (Point Blank) AoE (go far)
• Megastorm
Donut AoE (go in Ovni hitbox or very far)
• Ovni fight:
° Portals °

• Fairy:
- Before going to your portal, you can take the fairy's buff, which give an XP boost and mainly a damage buff and HPs regen
- Report the fairies you find in party chat or on the discord and wait the last moment with other players to take the fairy's buff closest to your portal (potential positions of fairies: link)

• Blue portal:
- First portal which appears 4 minutes after Ovni death (48 total in Hydatos)
- Since it takes away a random red portal (which can be someone else's portal), we won't use them
• Red portal:
- Replaces blue portals 3 minutes after their apparition
- Red portals can be taken by everyone with no restriction (on Late Night, we'll exclusively take those)
• Portals repartition map:


° Entrance °

• Logos Manipulator side: Party 1/2/3

• Magia Melder side: Party 4/5/6

• First, activate your row (tray) with Spirit of the Remembered, then your row with your Wisdom + an action

• Important:
- Throughout the instance, you will encounter various mobs, more or less dangerous
- Only the designated MT is authorized to pull mobs
- Wait for the tank to pull mobs back to you: keep a healthy distance at all times and do not take initiative to apply damage. If we cannot apply damage, we ask the tank to pull further back


° Art °
• Thricecull
Tank buster
• Legendcarver
Circle AoE (go far)
• Legendspinner
Donut AoE (go in hitbox)
• Acallam na Senorach
Raid wide
• Mythcall
Spears appear which will imitate Art abilities
• Legendary Geas
Mechanic in two steps: avoid the orange AoE and do not move. Then, avoid the six blue rectangle AoEs
• Gravity ball (no cast)
Furthest player is targeted by a dark purple marker which will make a sphere fall from the ceiling several times. If you're targeted, go to the edge of the arena and run without stopping (similar to Scathach in Dun Scaith). Then, a proximity marker will appear on a random player
• Art fight:


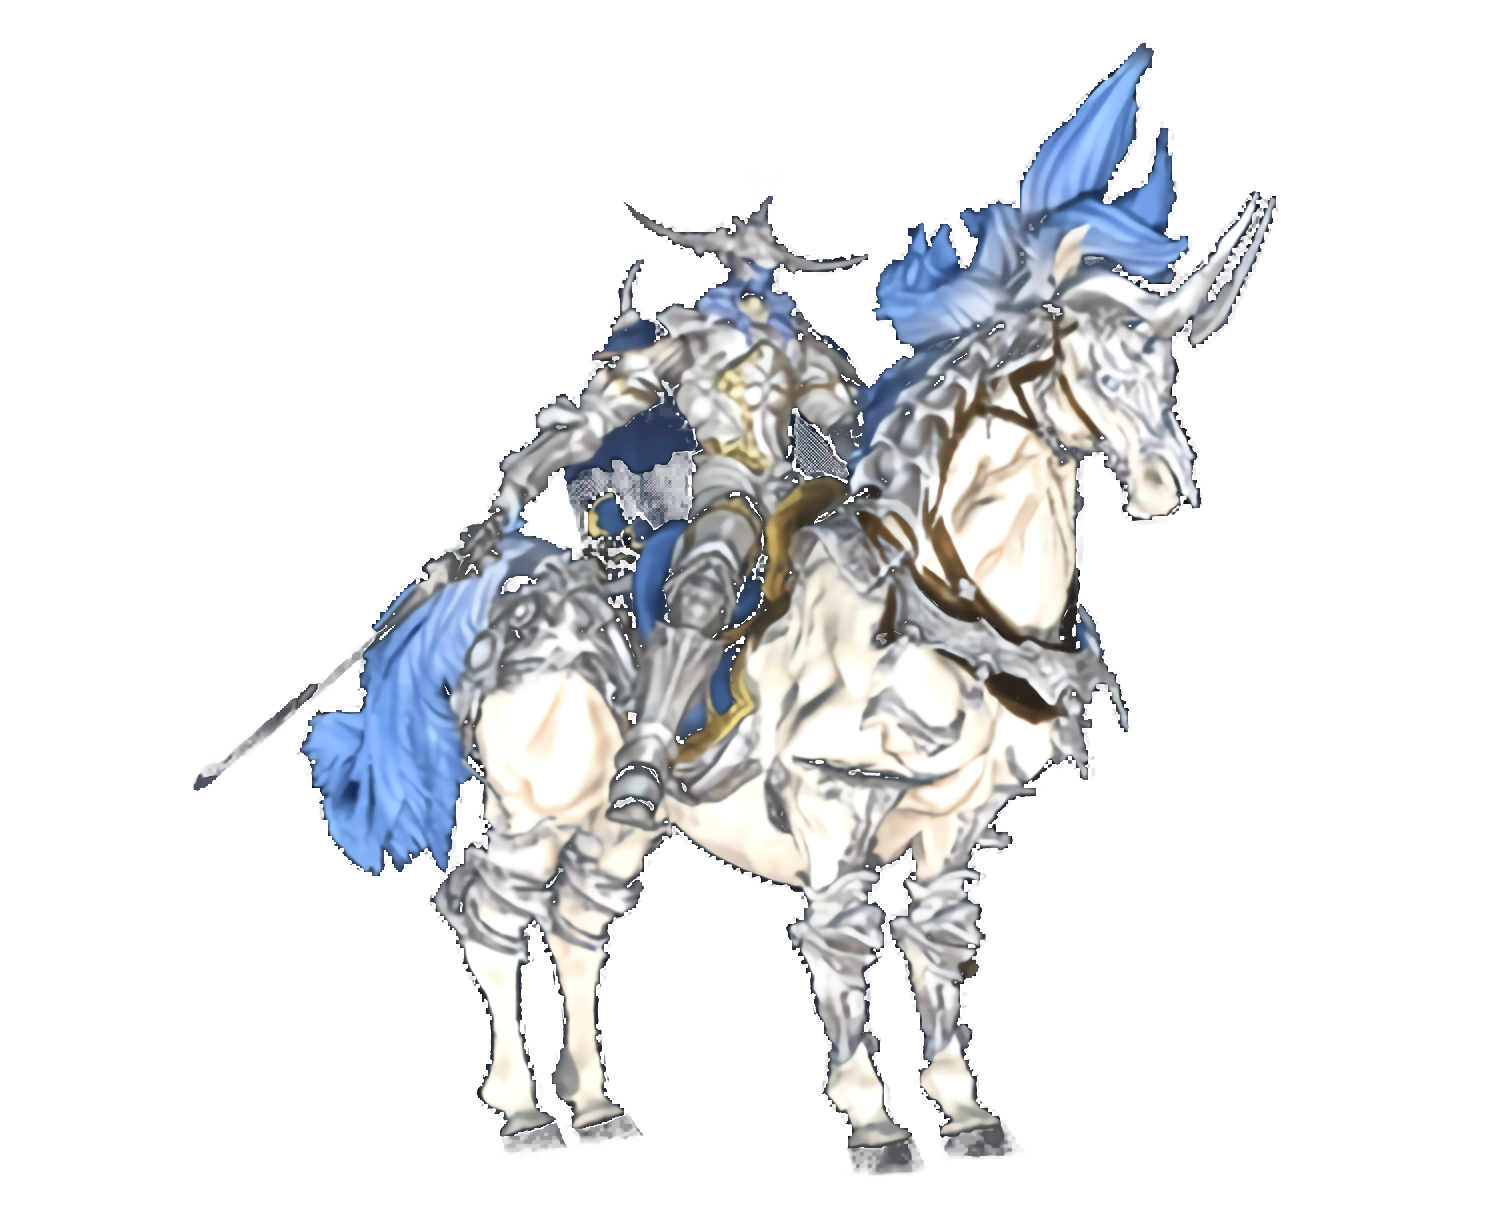
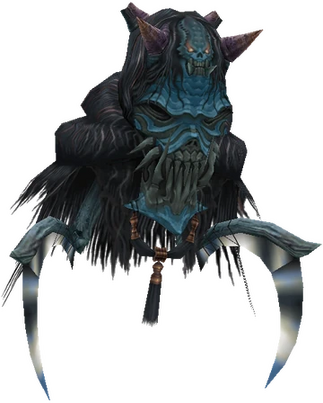
° Owain °
• Thricecull
Tank buster
• Acallam na Senorach
Raid wide
• Mythcall
Spears appear which will imitate Owain abilities
• Element change (no cast)
Owain can change his element (fire or ice) and infuse his spears with fire or ice
• Elemental Magicks
Go to the spears which have the opposite element of Owain
(If Owain = fire, go ice // If Owain = ice, go fire)


• Spiritcall
The players will then be targeted either by:
- A purple solo AoE
OR
- A red triangle above their headPurple AoEs go far and spread, triangles stack together below boss
After the second Spiritcall cast, hands will appear and tether to players. Players targeted must look at the hand to avoid it advancing further, while others kill them (similar to Scathach in Dun Scaith)
• Owain fight:


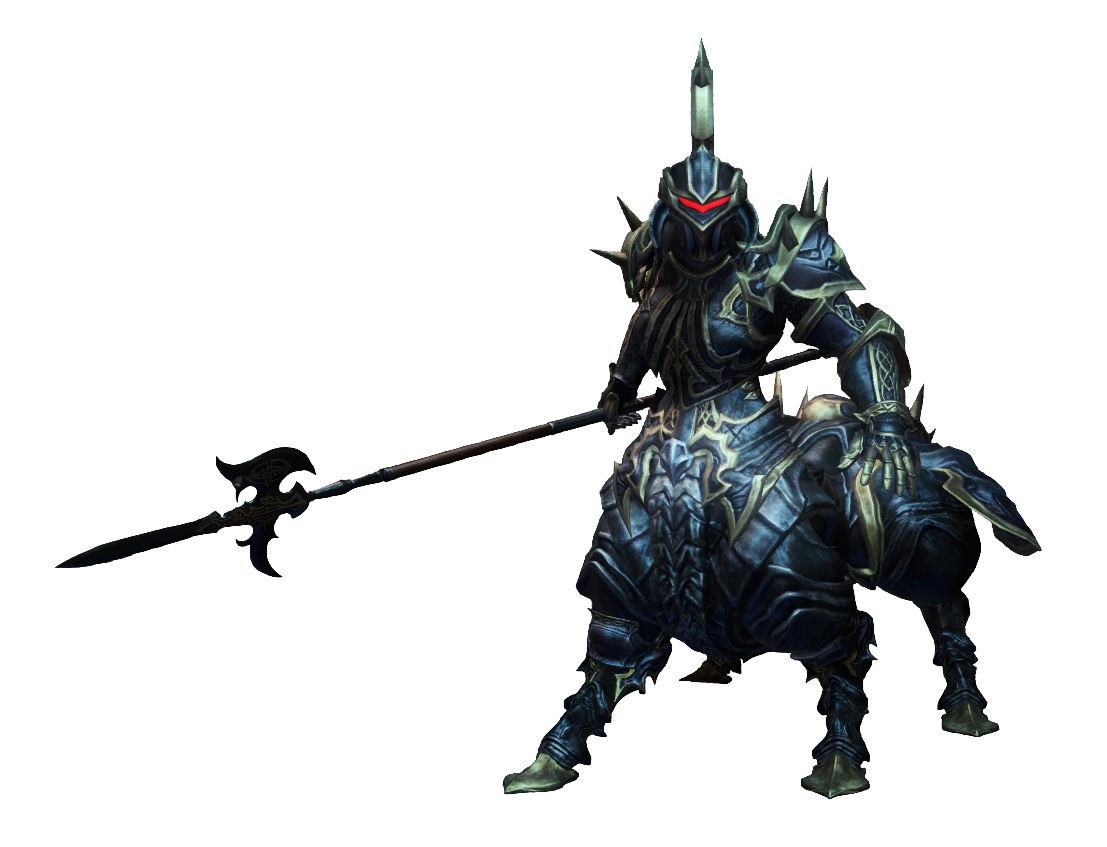
° Raiden °
Before reaching Raiden, you'll have to go through a trapped hallway:
- Party 1/2/3 (A/B/C) will arrive from West side
- Party 4/5/6 (D/E/F) will arrive from East side


• Important:
Raiden must be tanked North• Spirits of the Fallen
Raid wide
• Shingan
Tank buster
• Thundercall
Raiden electrifies the edges of the arena
• Ame-no-Sakahoko
Big circle AoE (Point Blank), then boss will jump backwards. Max casting range is safe, keep damaging Raiden and do not go too far as he uses Whirling Zantetsuken after this:
• Whirling Zantetsuken
Donut AoE immediately following Ame-no-Sakahoko
• Lateral Zantetsuken
Raiden disappears and positions himself West or East of the arena. He'll raise his sword in a direction and will attack on the side this sword is pointing to (go to the opposite side)
• Shock (no cast)
AoEs appear below players' feet (⚠️ this mechanic is happening at the same time as Lateral Zantetsuken, but resolves BEFORE: all players stay at the center of the arena to bait Shock, then dodge Shock together, and finally can sprint to the opposite side of the sword for Lateral Zantetsuken)
• Lancing Bolt
Circle AoEs will target 6 players. Do not stack them together (spread if targeted). After a few seconds, spears will appear at the AoEs' locations. Destroy them ASAP
• Ultimate Zantetsuken
Deadly raid wide (the cast is interrupted when all spears are destroyed
• Booming Lament
Fast circle AoE to dodge
• Cloud to Ground (no cast)
Serie of circle AoEs moving in a straight line (exaflares)
• Bitter Barbs
Tethers players together (spread once the chains have appeared to break them) + AoE to dodge
• Raiden fight:


° Rooms °
• Important:
- Wait for MT to have aggro before attacking
- Do not use any attack with big AoEs (dances, assizes, etc.)
- Don't enter in a room unless Raid Leader told you to do so
From now on, you will encounter various mobs which ask you to be careful. To have an overview of them, you can visit the bestiary (<-- click!)• Hallway after Raiden
There are several mobs which can prove to be dangerous here, so be careful and listen to Raid Leader's calls

• Hallway after finding portal
After taking the portal, you will be teleported to a new place where new mobs will need to be foughtShortly after, you will be confronted to elemental rooms:

• Elemental rooms
This step is essential for the rest of the instance: each party will need to individually take care of their room
There is a portal in each room. The party's tank will need to stand on it when the Raid Leader will call for it. When all 6 portals will be activated, they will make 2 mobs spawn in each room, as well as the "Support FATE" in Hydatos. If this FATE is a success, then Absolute Virtue will lose his "True Virtue" buff (which gives him drastically increased damage and the ability to cast Hallowed Ground)

• After the rooms
Once every room has finished to kill their mobs, we'll go back through Raiden's arena and encounter some new mobsThis hallway is the same that we crossed after Raiden the first time, so the traps and mobs in the rooms are the remaining ones from the first time we went through here

• FULL BALDESION ARSENAL MAP:
In order to help you have a better idea of the path we'll be taking, here is the full Baldesion Arsenal map in two steps (click on the images to enlarge them)
Step 1:

(From entrance to elemental rooms)
Step 2:

(After elemental rooms to Ozma)


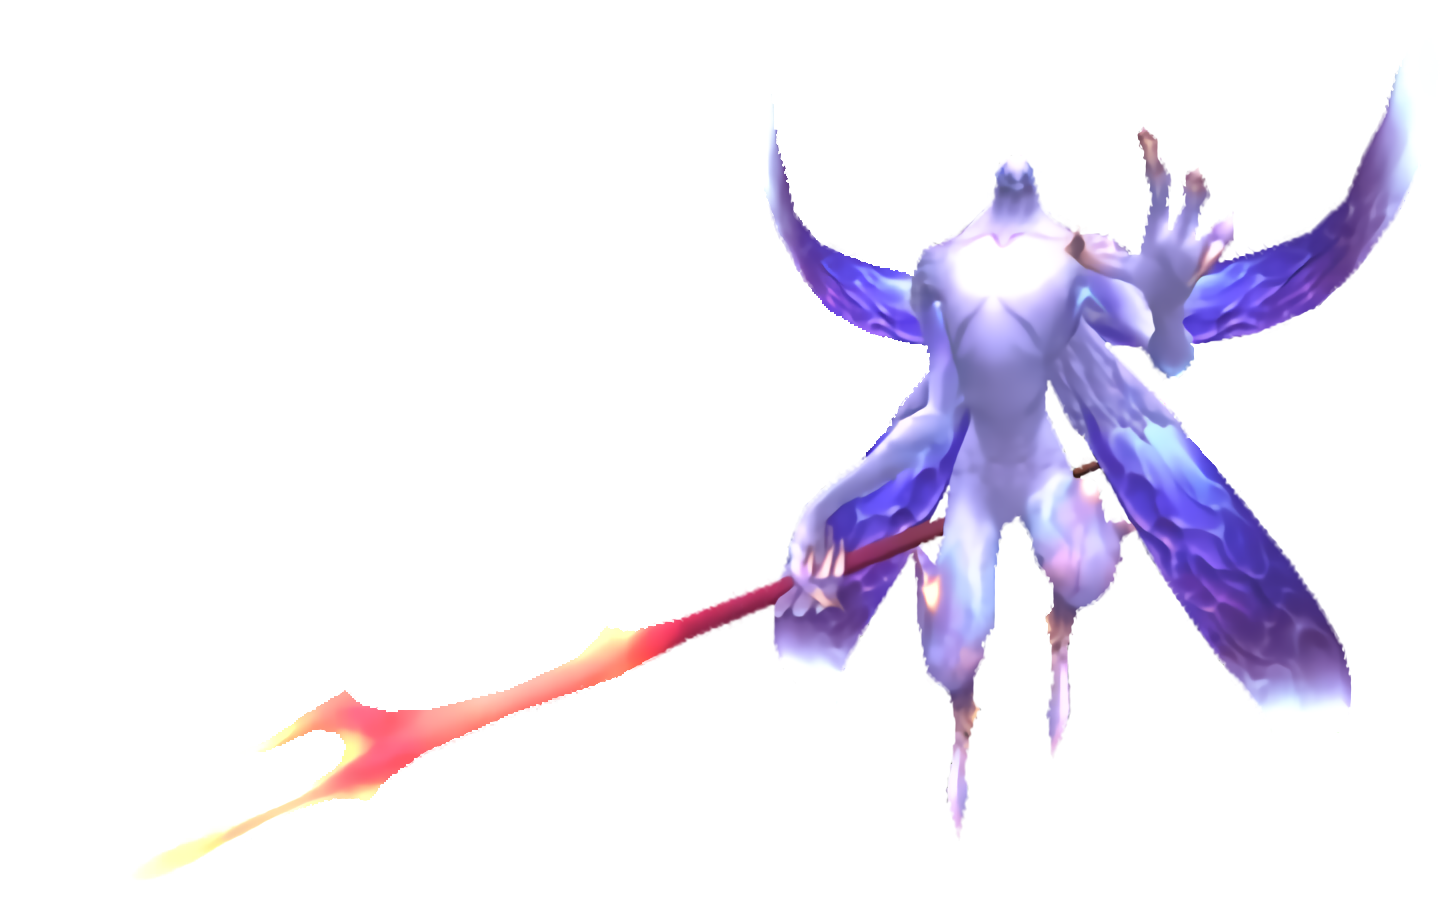
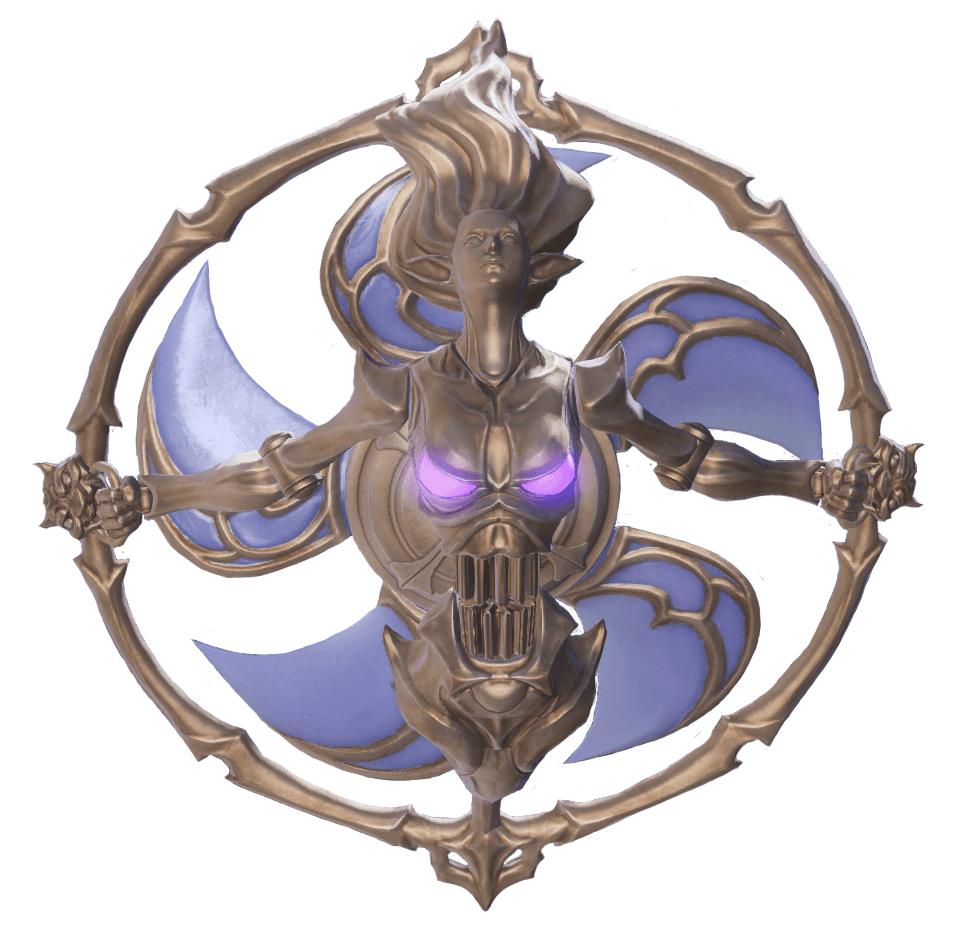
° Absolute Virtue °

• Important :
- Have a MT in Wind defensive for Virtue and an OT in Lightning defensive for adds

- Shell must be applied before the fight

- If you want to use "Double Edge", be sure to read its guide (<-- click!)

• Meteor
Raid wide
• Eidos
AV takes out his halo and wristbands of light or darkness (a visible buff also shows the wristbands' color)

• Hostile Aspect
Puddles appear of the same colors than the wristbands for the first time. For all the next ones, there will be puddles of both light and darkness: matching color to AV ones will grow, and all remain lethal
• Medusa Javelin
Petrifying cone AoE targeting a random player (have to be baited)
• Impact Stream
AV splits the arena in two: a white side (light), and a red side (darkness). Go in the opposite element from AV's wristbands (also indicated on its buff bar)
• Triple Impact Stream
AV becomes untargetable, and two clones appear. They will each split the arena one after the other. Go to the opposite element from the AV iteration's wristbands who is casting the AoE. After this, a proximity AoE must be baited by players in center
• Auroral Wind
Tank buster
• Turbulent Aether
Eight players will be tethered to an orb either white or red, and eight circles will appear: four white + four reds. Players tethered to an orb will need to go to the opposite color circle from their orb. If they can't go there in time, OR the circle is already occupied, they will need to detonate their orb alone on the edge
(⚠️ Medusa Javelin must be baited before going to your circle!)
• Explosive Impulse
Proximity AoE
• Call Wyvern
AV summons two adds which must be killed ASAP
• Absolute Virtue fight:


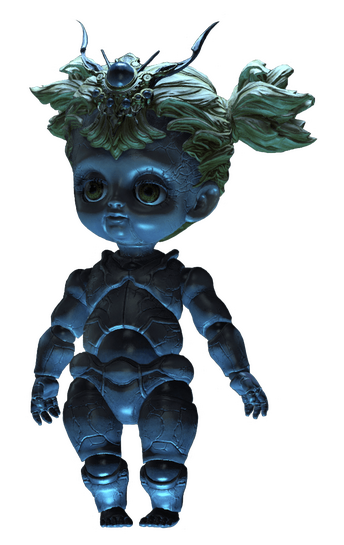
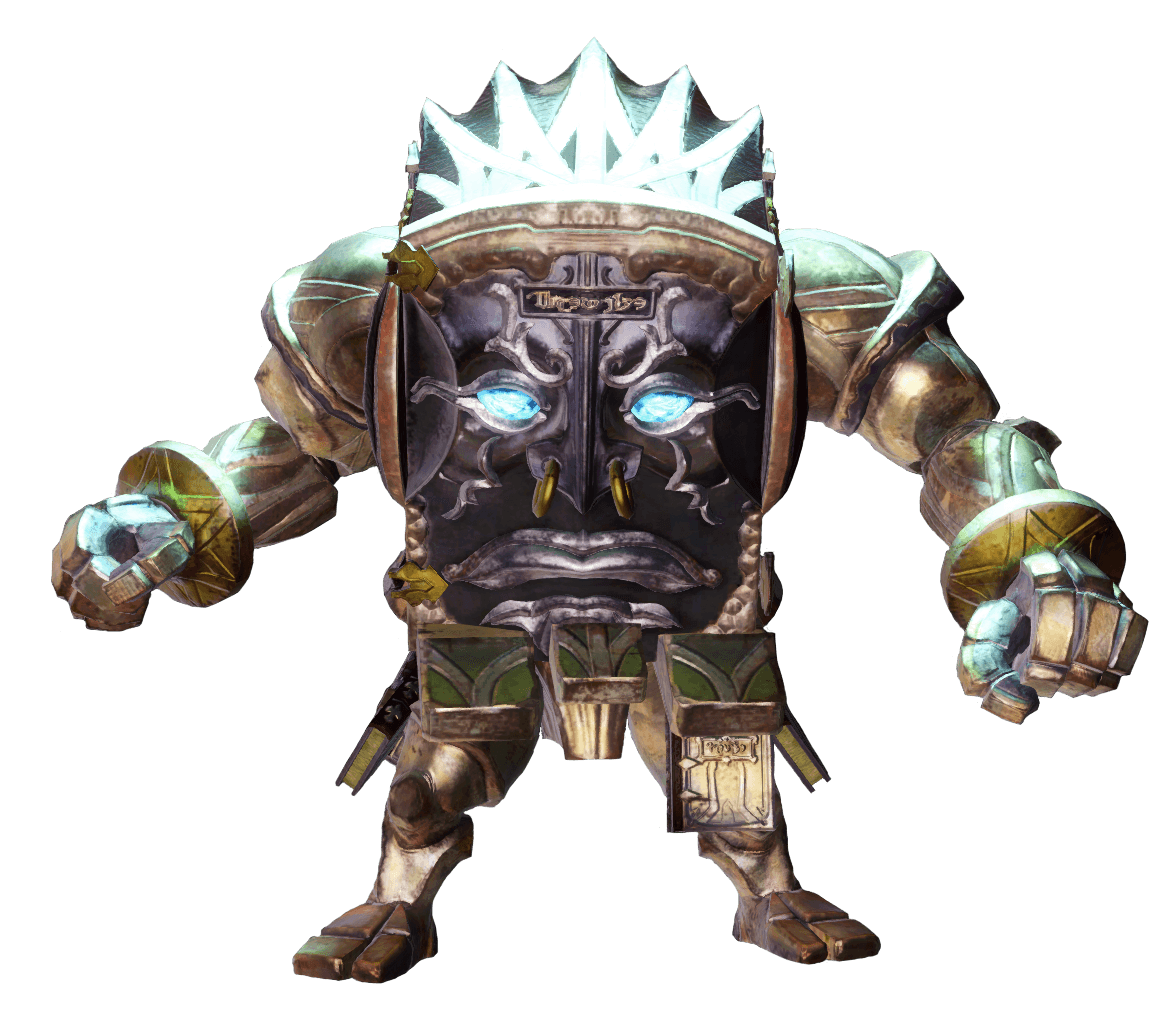
° Proto-Ozma °
Before reaching Ozma, you must go through a hallway:


• Important:
- Proto-Ozma is a fight with personal mechanics which can wipe your platform (Meteor and Acceleration bomb)! Yours and others' survival are far more important than your personal dps
- Shell must be applied before the fight
- Ozma element is "Lightning". If you are a MT, change your defensive element in "Lightning". If you are a DPS / Healer, change your offensive element in "Earth"
- If you want to use "Double Edge", be sure to read its guide (<-- click!)


• Main Tank?
- There's a MT on each platform for three total
- Ozma autos in Sphere and Cube shape do a lot of damage, remember to use Eureka potions
- To be MT in BA and/or Ozma, using "Wisdom of the Guardian" is mandatory
- Using "Wisdom of the Indomitable" (<-- click!) is also possible if preferred

• Important info about the arena:
- Each party is assigned to a platform (3 total) and a portal (6 total)
• Party 1/2 on A platform
• Party 3/4 on B platform
• Party 5/6 on C platform
• Support Party on B or C platform
- All the platforms must resolve the same mechanics
- Don't cut through edges, you can fall and you will die, even if Ozma isn't pulled yet

• Important info about the fight:
- Ozma phases rotate semi-randomly: Tutorial Star > Random order of 3 unique shapes > Random order of 2 unique shapes > Enrage Shooting Star
- If you fall, you die. However, your body is teleported to the A platform. If your Spirit of the Remembered procs and that there's no mechanic to resolve, come back to your platform
- If you're ejected by the "Black hole" mechanic, you'll be teleported back to Hydatos' camp and the fight will stop here for you. However, do not leave the instance or your team, we might need LB3


• Ozma shades:
A shade will appear regularly at the back of each platform. It will copy an Ozma shape and use the AoE associated to this form (Cube Donut, Pyramid Line or Star Circle)They will often make you do a "double movement":
- Front then back of your platform (or the opposite)
- Sides then front / back of your platform (or the opposite)If Ozma is in Star shape during shades, you need to get knockbacked to the front or back of your platform

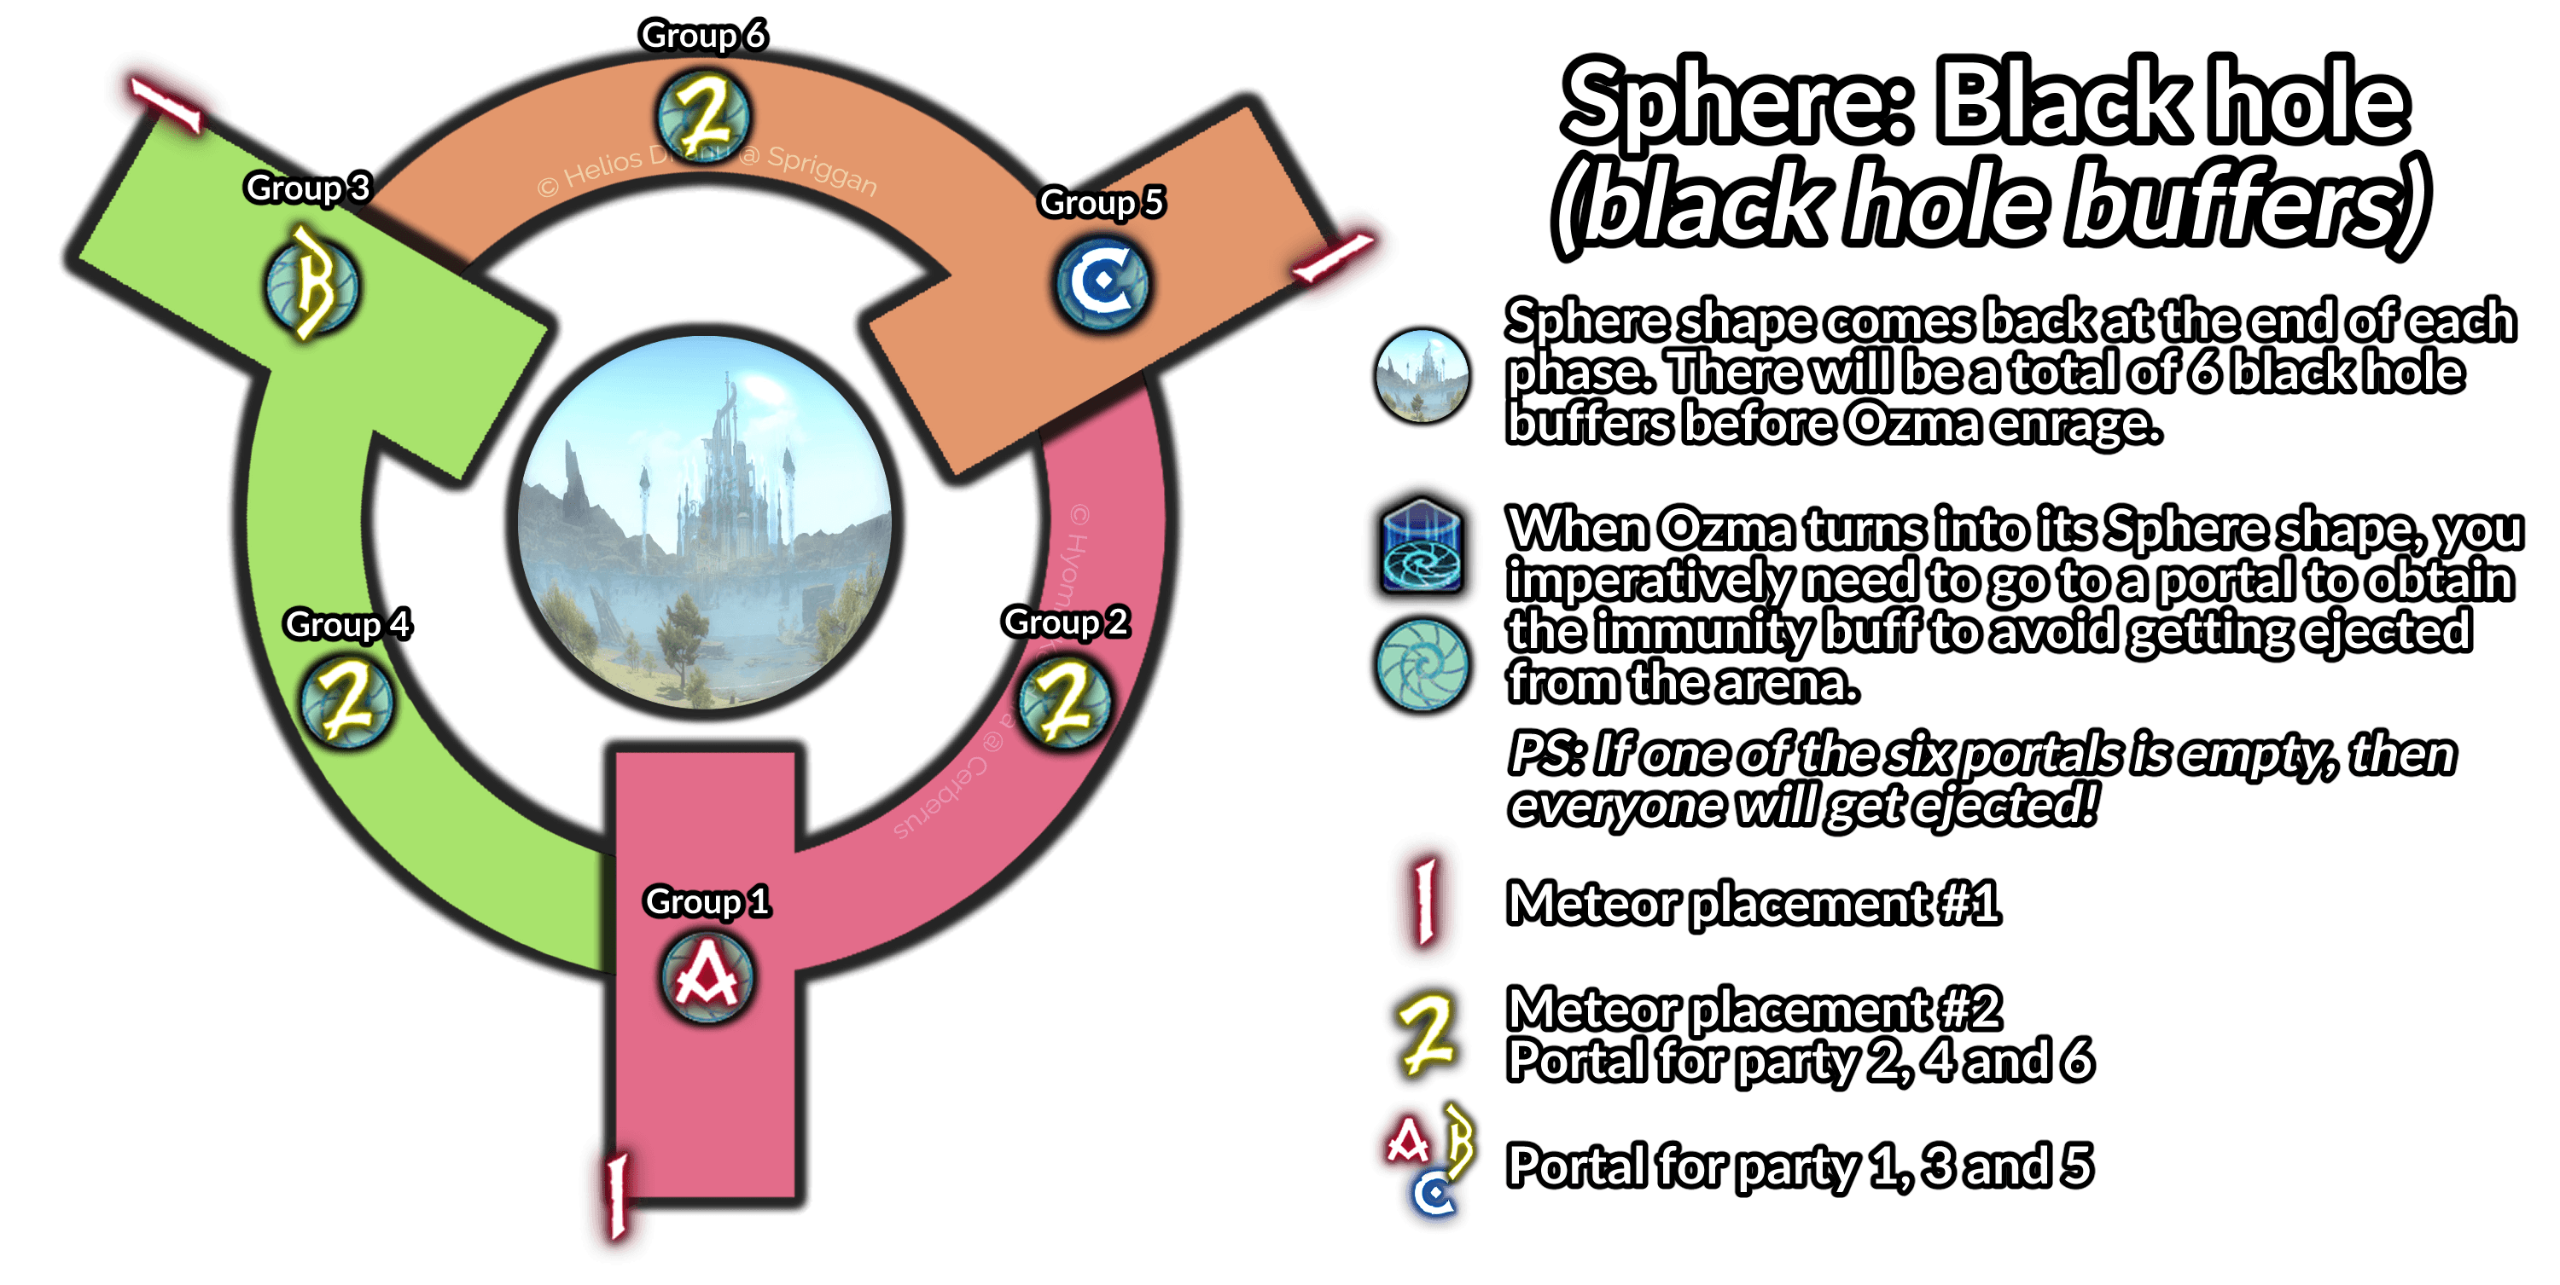
• Sphere shape: BLACK HOLE BUFFERS
Ozma autos in this form hurt MTs, they will need heals
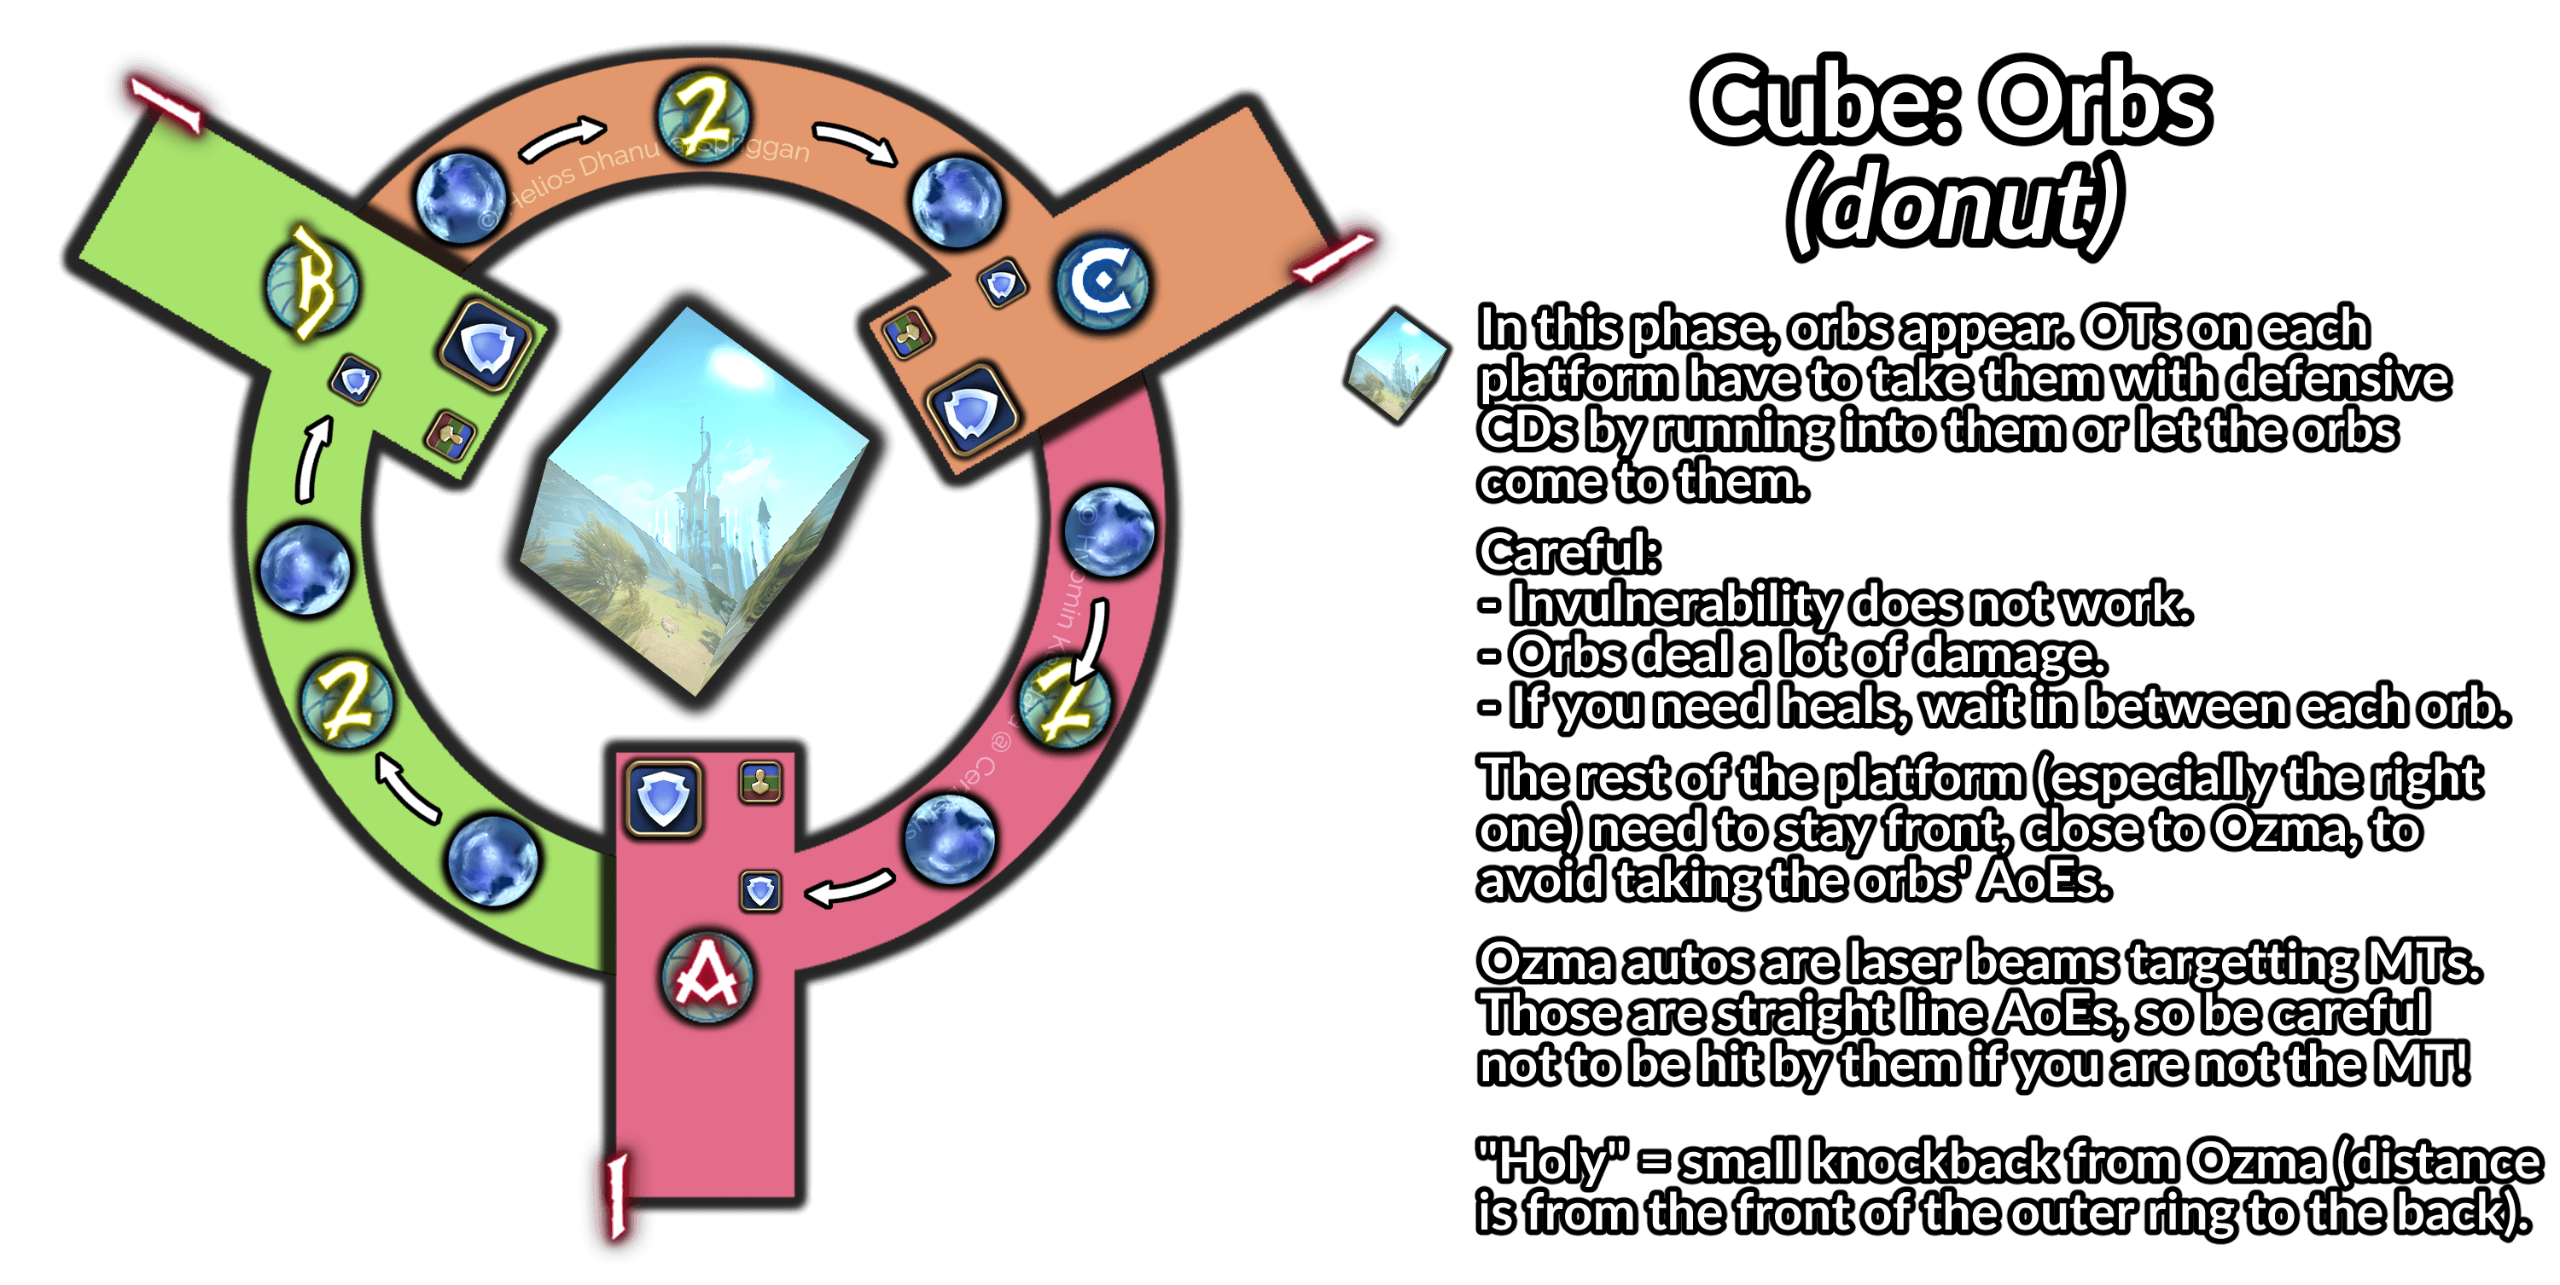
• Cube shape: DONUT
When Ozma takes this shape, he does a donut AoE: go close to himThroughout the whole duration of this shape, DPS / Healers / OTs will stay on the right, and MTs on the left
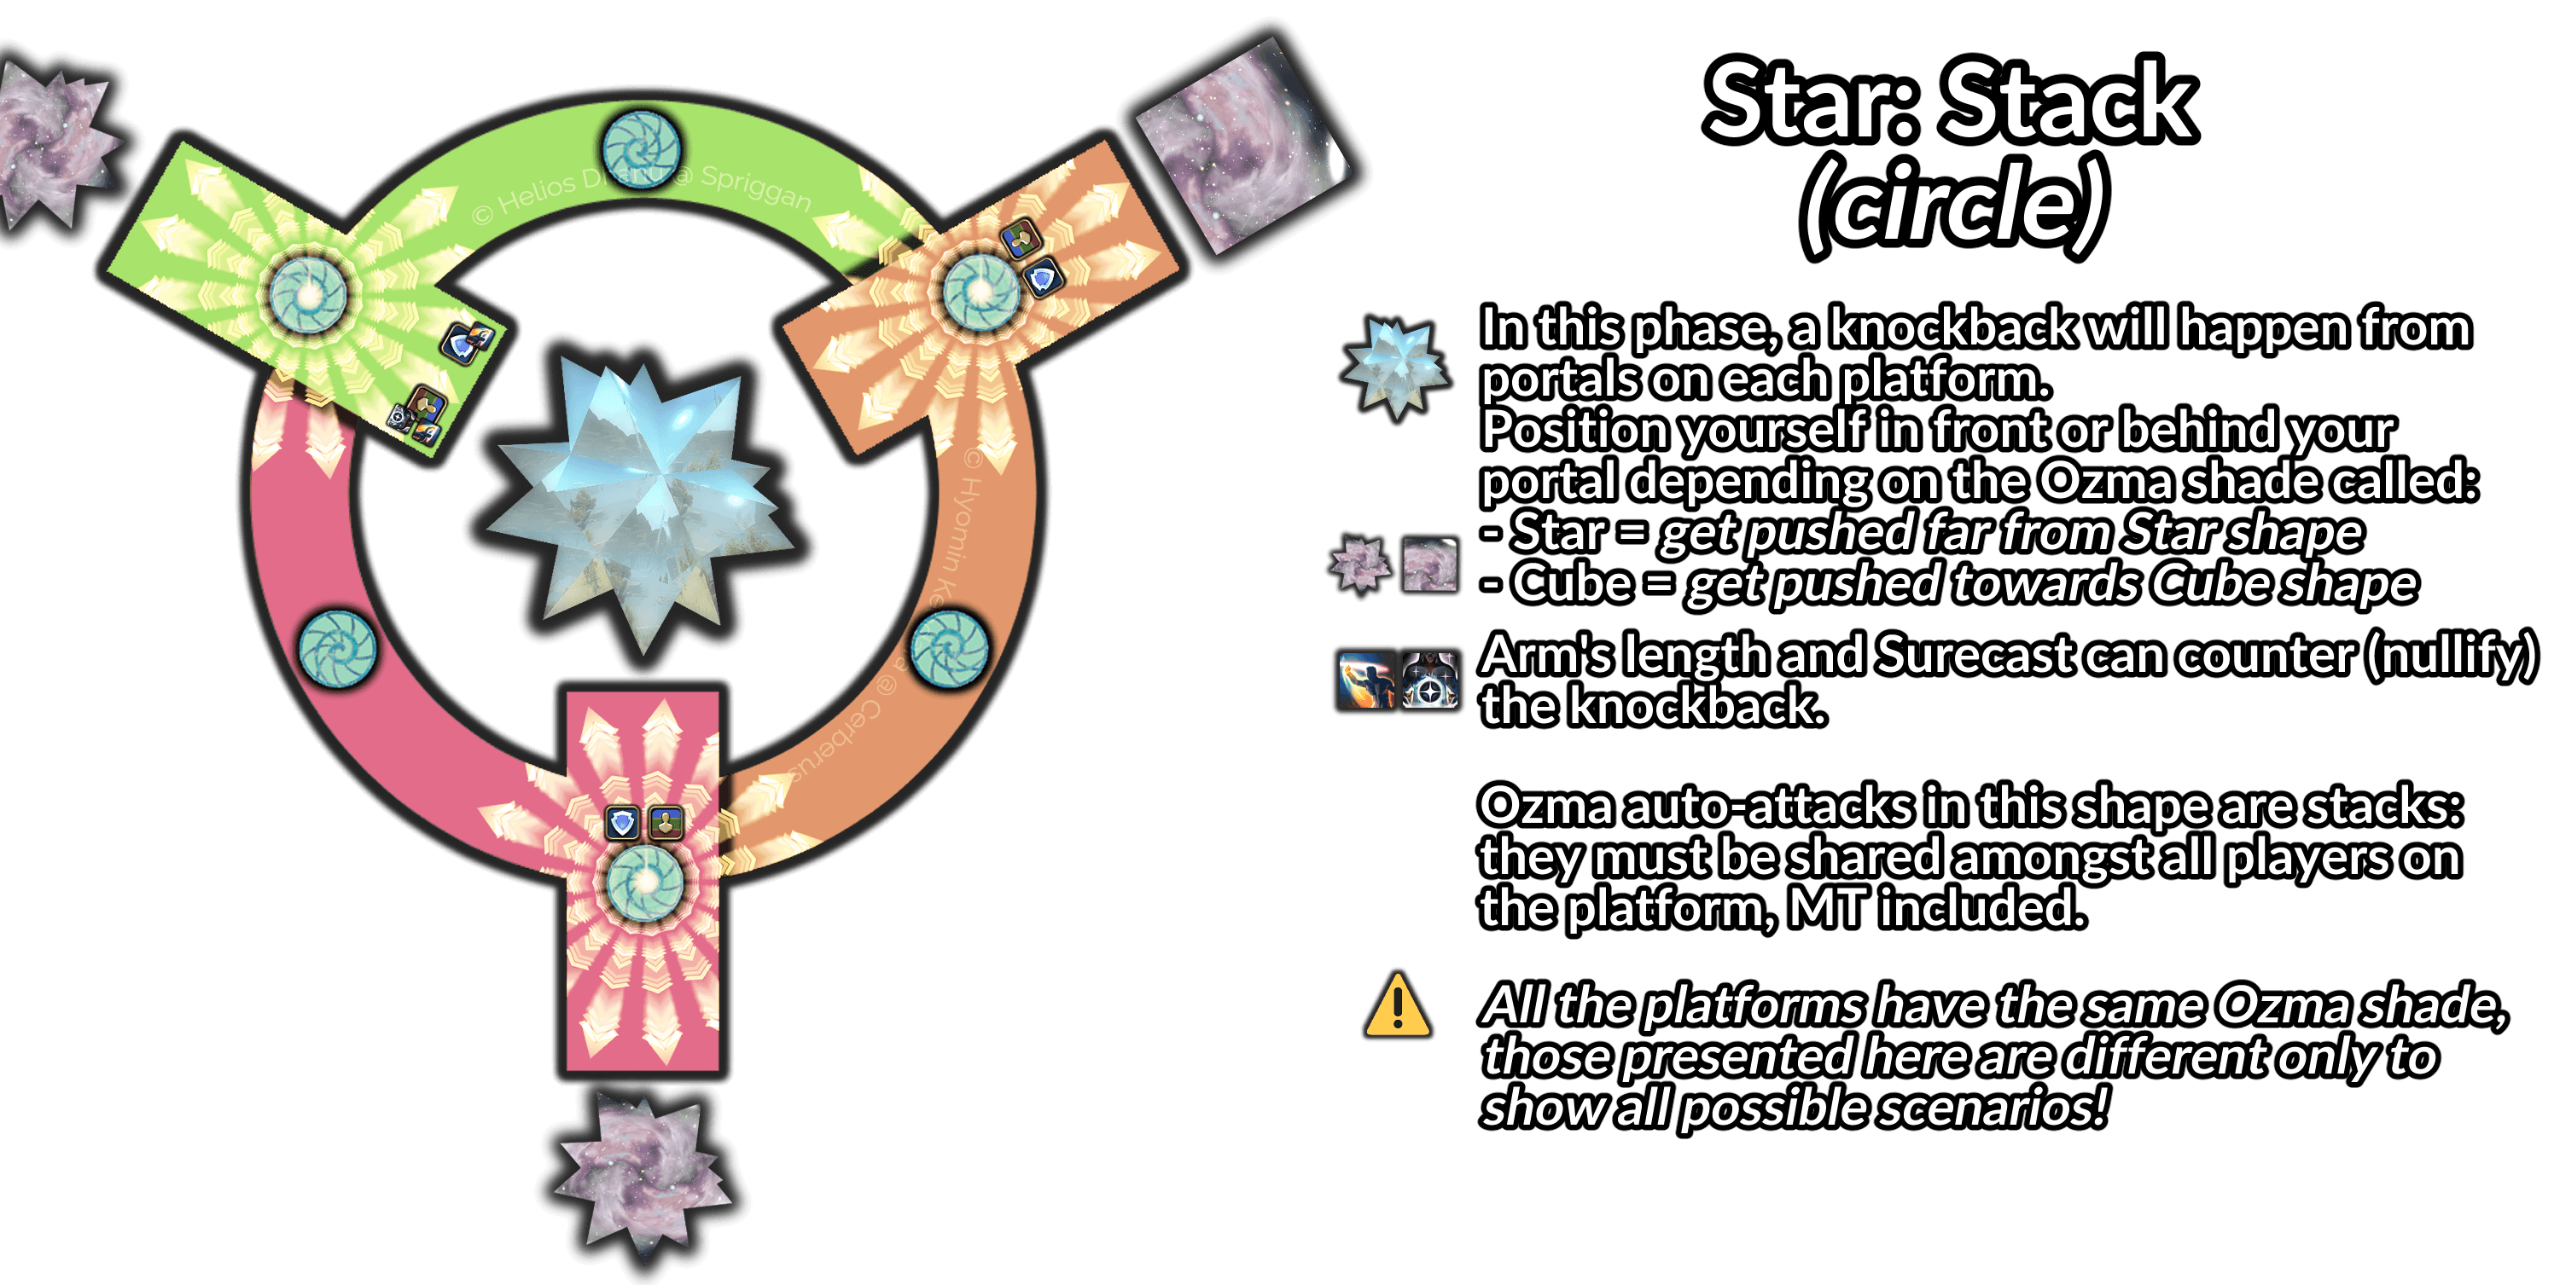
• Star shape: CIRCLE (POINT BLANK)
When Ozma takes this shape, he does a circle AoE: you need to go at the back of your platformEveryone need to stack with the rest of their platform for Ozma autosThere's also a unique personal mechanic called "Meteor" during this phase (click on the image to access the corresponding section):

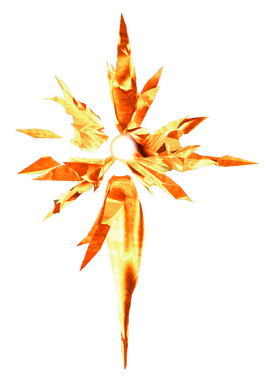
Meteor

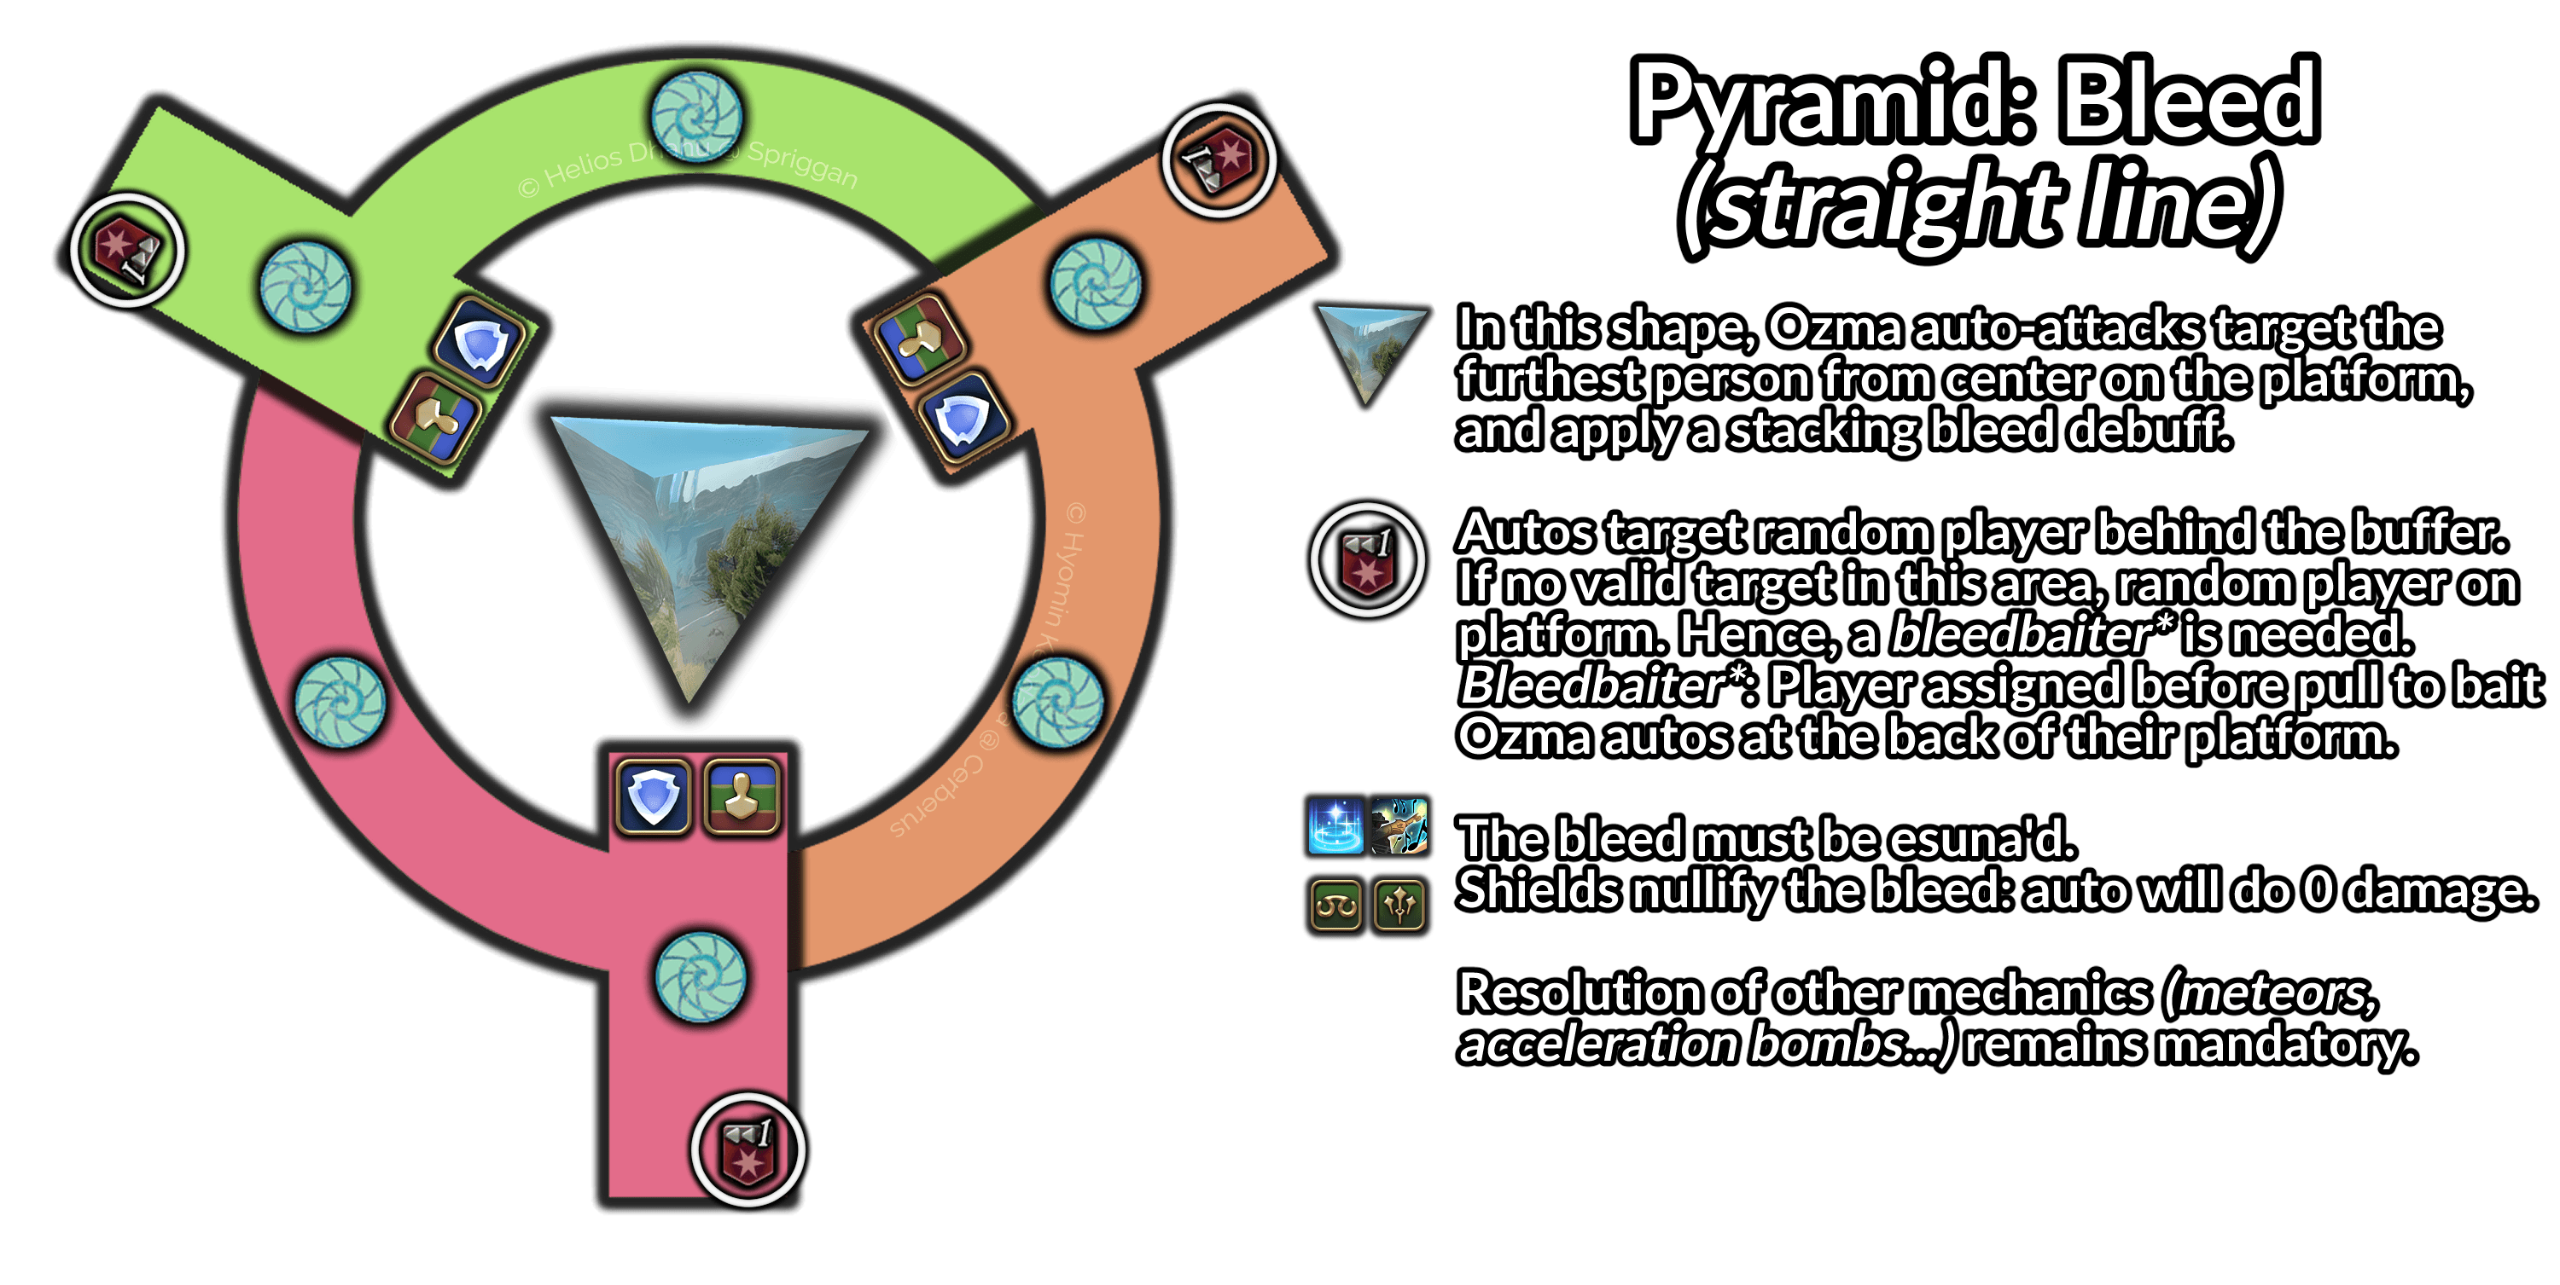
• Pyramid shape: STRAIGHT LINE
When Ozma takes this shape, he uses a line beam hitting the platform in front of him: you must go on the sides (MT left, rest of the group right)Autos are not on MT: therefore, they are free to go whereverThere's also two unique personal mechanics called "Meteor" and "Acceleration bomb" during this phase (click on the image to access the corresponding section):
Meteor

Acceleration bomb


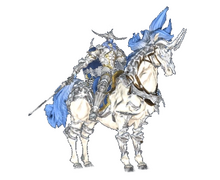
• Proto-Ozma fight:

Congratulations!
You finished the Baldesion Arsenal (or at least, its guide)
Find your mount "Proto-Ozma" in your achievements: “Battle” → “Field Operations” tab, once you have cleared!
PS: If you got ejected when Ozma is killed, you will unfortunately do not have the achievement and therefore, the mount. If you're still in the arena, you'll have it!

° Meteors °

Back to Ozma


° Acceleration bomb °

Back to Ozma


° Support Fate °
• What's that? What's it for?
Support FATE is an essential step to remove Absolute Virtue's buff (with this buff, he cannot be killed)The FATE is realized by the Hydatos instance and the Support party, since it's happening at the same time as elemental roomsOnce done, the players who participated in the FATE and got the gold medal for it will also have the portals buff and will be able to join the other parties inside BAOnly 8 portals will appear!!

• Required logos actions:
- Spirit of the Remembered is mandatory since Tristitia and its adds are Wind mobs and have an evade bonus


- Dispel L to remove two buffs that Tristitia grants itself
- Have at least 2-3 backup dispels as a MINIMUM

• Optional logos actions:
- Feint L to help instance players without Spirit of the Remembered
• Waterga III
Circle AoE on the ground
• Spine Lash
Conal AoE (non telegraphed) in front of Tristitia
• Shock Spikes
Tristitia grants itself a buff which reflects damage (⚠️ to dispel!)
• Aeroga IV
Circular AoE (go far from the boss)
• Tornado II
Donut AoE (go under the boss)
• Dualcast
Tristitia is going to cast either Aeroga IV or Tornado II, then do the other one instantly
• Mighty Strikes
Tristitia grants itself a buff which makes all its damage critical (⚠️ to dispel!)
• Meteor
Raid wide (one shots if "Mighty Strikes" wasn't dispelled)
• Support FATE fight:


° Wisdom of the Indomitable °

• Wisdom of the Indomitable stacking guide
If you want to Main Tank in the Baldesion Arsenal, the Wisdom of the Indomitable can be used
This Wisdom lets you stack up to 16x a buff which increases your max HPs. A stack is won when you take an attack equivalent to at least 50% of your maximum HPsThere are several ways of gaining stacks:
• "OVNI" method:This method is the one most commonly used. Begin building stack using the OVNI FATE, with your healers to help you stay aliveHow to:
In front of OVNI, before it's pulled, remove the Echo buff. Stand in AoEs with cooldowns to start stacking. Use invuln if necessary, and be wary if you die near Ovni's death to not accept the raise (receive rewards first)
Using this method, you will begin building your stacks on Ovni, and finish building them inside of BA at the same time as you will refresh them (see below section, "Keep your stacks?")
• "Crystal claw" method:Second method is to stack with a "Crystal claw", the mobs that make Provenance Watcher FATE pop, with a shield healer to helpHow to:
Once near Crystal claws, remove all your gear, equip a weapon without any elemental bonus and remove the Echo buff. Remember your stance! Wait for a shield from your healer, then pull a Crystal claw (only one)
Its autos are powerful enough so you get a stack each time it attacksOnce you are at 16 stacks, your healer will sleep the Crystal claw (you can also stun it to help), and you'll both have to run to lose aggro
• "Crystal claw" zone

• "Crystal claw" method:
• "Sprites" method:
Probably the easiest and fastest but also the most expensive one, it consists of using "Reflect" logos action with your Wisdom and reflect the sprites on the island
They appear on every weather except "Clear skies"How to:
Once near the island, remove all your gear, equip a weapon without any elemental bonus and remove the Echo buff
Activate "Reflect" before going on the island, then go near the sprites and activate "Reflect" again to pull them. Keep "Reflect" active at all times by refreshing it before the buff ends (2-3 secs max)
Once you have your 16 stacks, go far away to lose aggro (while keeping "Reflect" active to not die)
• Sprites island

• "Sprites" method:
• Keep your stacks?The indom buff is 15 minutes long after each refresh. To refresh it, we will use the explosive traps in BA by using our invuln and pop it together with all indom tanks:
- 1 refresh at entrance using "Catastrophe L"
- 1 refresh during Raiden explanations on Art/Owain hallway trap
- 1 refresh with the trap in front of the chest before rooms with portal to elemental rooms
- 1 refresh on your elemental room trap
- 1 or 2 refresh during the break on AV with the rooms' traps
- Finally, 1 last refresh before Ozma with "Catastrophe L"To refresh with "Catastrophe L", make sure your indom is active, activate your invuln and use "Catastrophe L" (if you're a DRK, warn your healers!)• Important notes:
- Do your stacking after Ovni death if you do not use the Ovni method (you have time to do so)
- You may not be the only one to use Indomitable, therefore you won't be the only one needing to refresh your stacks. Don't explode traps without making sure everyone who needs it is here


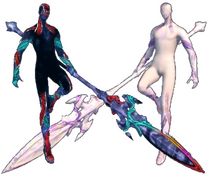
° Double edge °

• Double edge usage guide
ONLY use Double Edge if you've got high elemental bonus!!
Double Edge is a logos action which increases your physical damage, but inflicts you with a very powerful dot. The buff is 48 seconds long, and the damage you inflict increases of 15% every 3 seconds. At the end of the effect, you will have 16 stacks for a total of 240% increase on your damage. But the dot also increases with time, dealing 360 potency more on each stack, up to 5472 - 6048 damage per tick with 16 stacks: hence, you will need a lot of heals to keep you alive through this
If you wish to use Double edge, you must first ask your healers if they're okay with it, even if they're experienced. Unless they agree, do not use Double Edge!
You can heal a part of the dot's damage by using a Eureka potion and "Blood bath":- Use a Eureka potion at 40 seconds left on Double edge buff
- Melees use "Blood bath" (not the logos action) at 20 seconds left on Double edge buffIf your healers are dead OR you see you won't survive to the next mechanic / raid wide which is incoming because of the dot, use this macro to remove the Double edge buff:/statusoff "Double Edge L"
If you die because of Double Edge, it's your own fault and not your healers'! DoT inflicted is extremely punitive, use this action wisely!
Another method for using Double edge is what we call "chaining". It consists of refreshing your buff when it arrives at 16 stacks. But careful, the dot will then be very powerful, so you must have your healers' consent and specific logos actionsSince Double edge has a cooldown of 90 secondes and its duration is 48 seconds, you will need to slot a new row of actions to refresh it:
• Pre-pop:

• Logos actions rows:

You use it this way:"Pre-pop" set can be used from entrance to Absolute Virtue
Once on AV:
• 45 secs on pull timer
- Use Double edge
- Slot Set 1• 6 secs on pull timer
- Use Double edge again
- Use logos action "Bloodbath L"
- Slot Set 2
- Activate your Wisdom of the Duelist
Use pot (optional)• 40 seconds after the start of the fight
Use Double edge again(Repeat on Ozma)PS: If you die, reactivate your Spirit of Remembered (Set 6), then slot Set 5


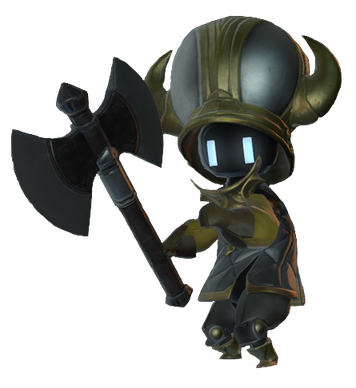
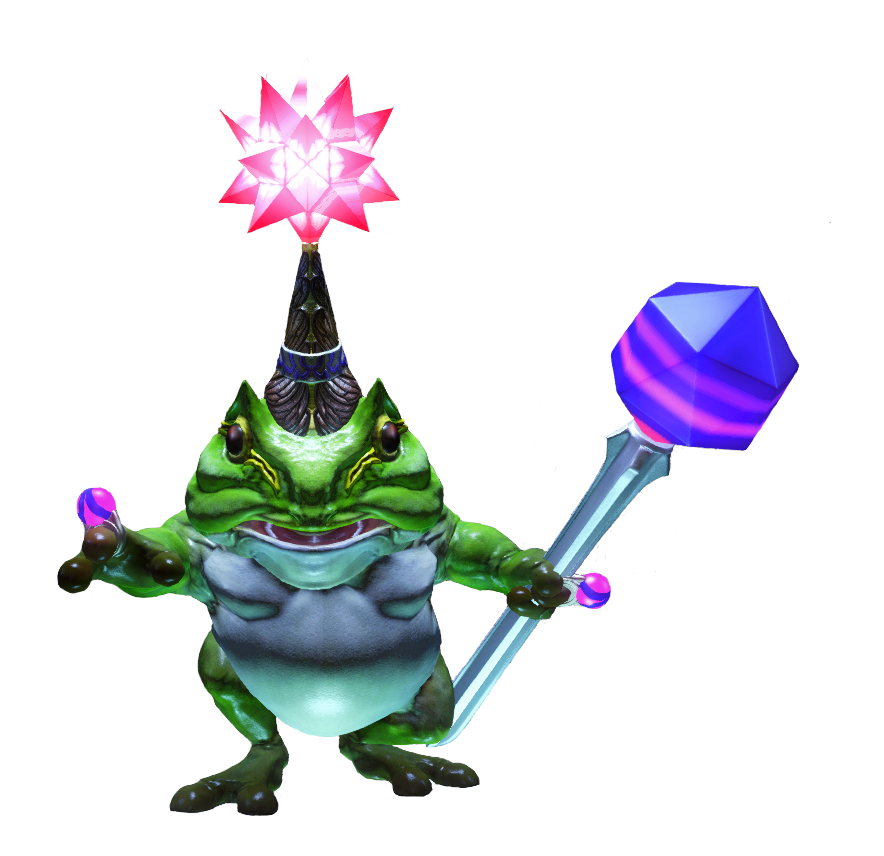
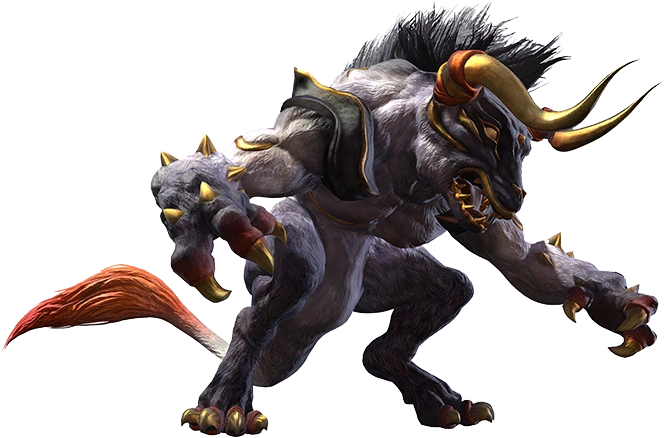
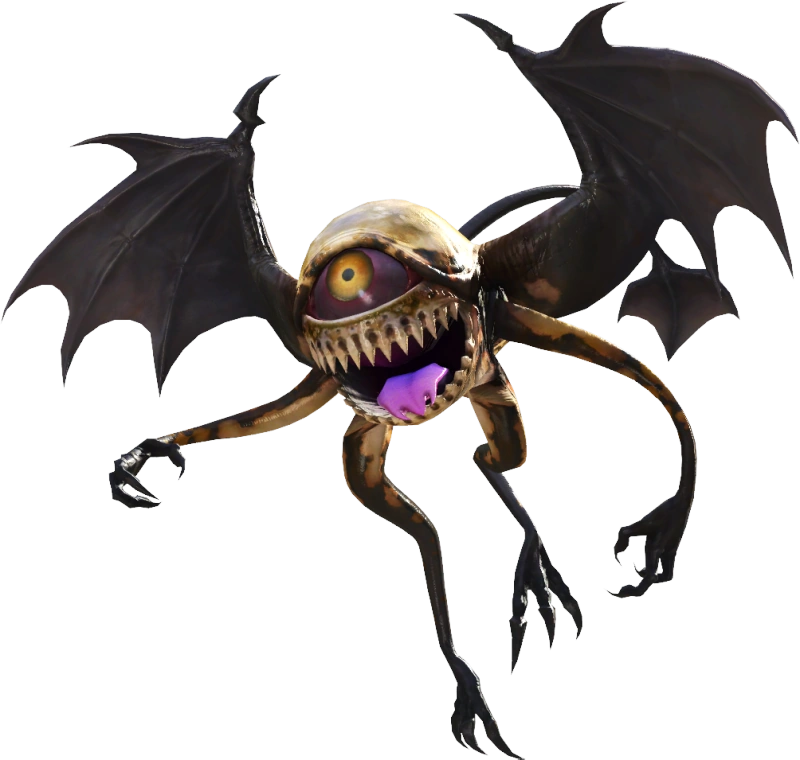
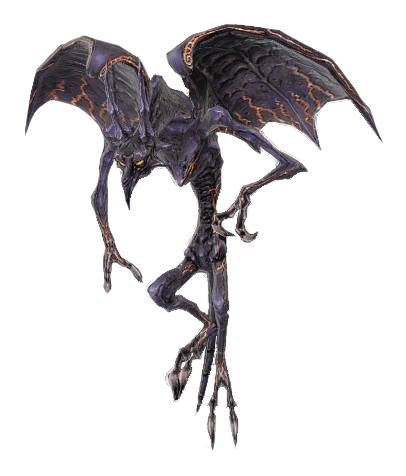
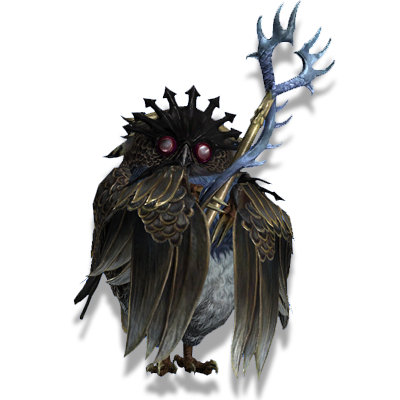
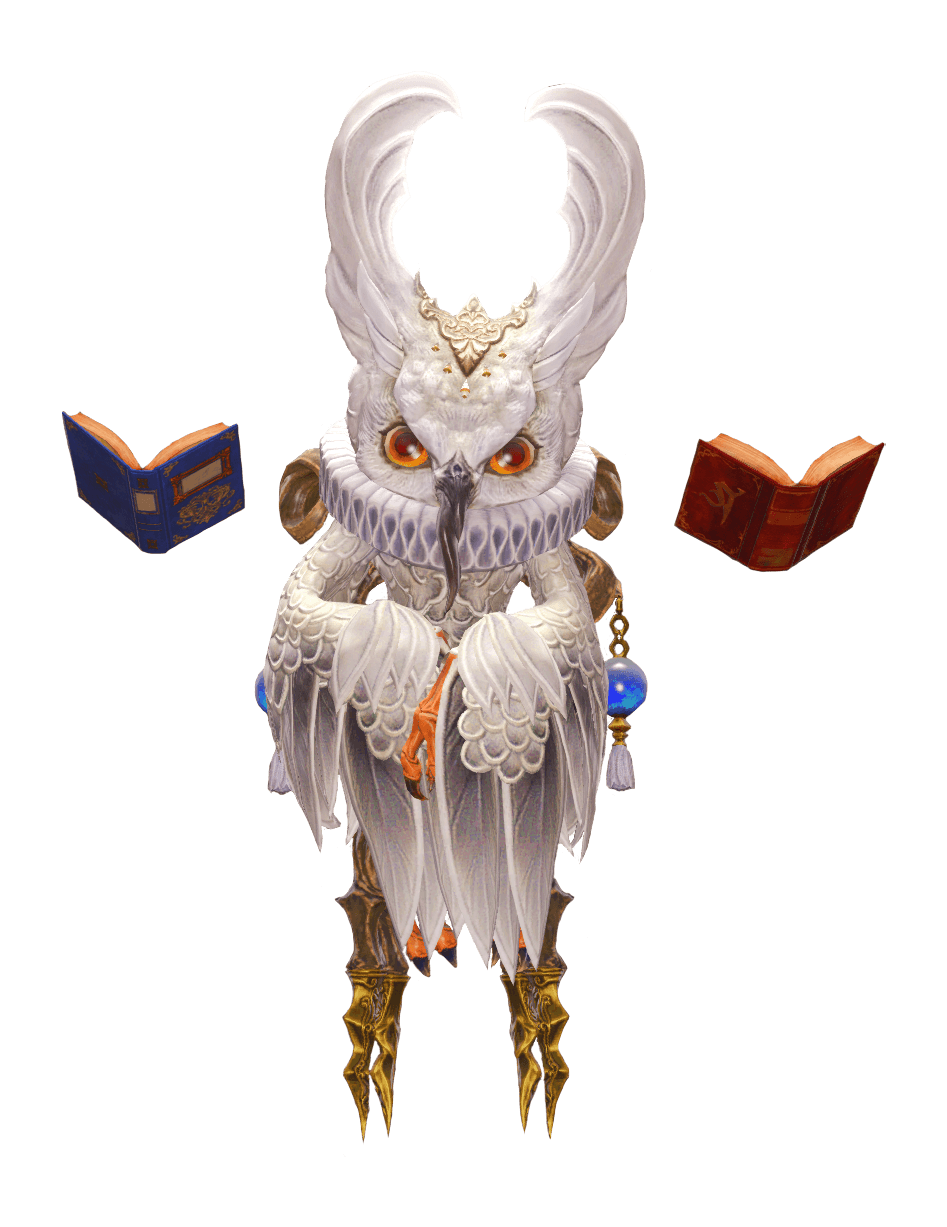
° Bestiary °
Baldesion Arsenal bestiary
Mobs are classified by encounter order
All non-undead mobs can be death'ed with "Death L" logos action!


• Arsenal Demon Wall
Magical autos


• Arsenal Magus
Magical autos
They use AoEs targeted randomly under people's feet
Those mobs are also encountered in hallways and the elemental room associated to their element

• Arsenal Viking
Physical autos
They target a random player on their enmity list, run to them and do a conal AoE
Those mobs are also encountered in hallways and the elemental room associated to their element

• Arsenal Poroggo
Physical autos
They can use "Toy Hammer", a long cast tankbuster which will do extreme damage. They also use a circle (point blank) AoE

• Arsenal Byblos
Physical autos
They use a frontal cleave (no cast) and a back cleave "Tail Smash"
Those mobs must be tanked facing a wall, while the rest of the group stays on their side. They will turn to a random direction and use "Magic Hammer", a big AoE on the ground. Melees or tanks use "Leg Sweep" or "Low blow" to stun them and interrupt the cast (dodge the AoE just in case, still)
Most importantly, even if they turn in your direction, stay at the sides of the Byblos while dodging the AoE, as they will turn to the tank and do a frontal cleave again

• Arsenal Geshunpest (undead)
Physical autos
They patrol from one hallway to another
Those mobs aggro players whose HPs are low OR players entering their hitboxes
They also do a conal AoE on a random player

• Arsenal Sprite
Magical autos
They patrol from room to room
As sprite mobs, they aggro if you cast near them. They will use "Banish III", which will inflict high damage to the targetted player and those around them, as well as remove a random buff from players getting hit
⚠️ Must be interrupted with Interject or Head graze

• Arsenal Centaur
Physical autos
Soon after being aggro'd, they will cast "Berserk" which gives them a powerful damage buff: they will inflict very high damage on the MT. "Berserk" must be interrupted by "Repose" (healers) or "Sleep" (casters). After "Berserk", they will use "Rear", a circle (PB) AoE

• Arsenal Calcabrina
Physical autos
They patrol from hallway to hallway
They do a massive conal AoE called "Terrifying Glance", which inflicts confusion
The group must stay close to them, behind them (their cleave is ~180°)
They can use Slapstick, a pulsing AoE inflicting massive damage

• Arsenal Fan
Physical autos
They use "Tight tornado", a line AoE

• Arsenal Scribe
Physical autos
They cast "Libra", a stacking vulnerability debuff, which can be interrupted with Interject or Head Graze

• Arsenal Eye (undead)
Physical autos
They cast "Dread Gaze", a conal AoE
Those mobs aggro players whose HPs are low OR players entering their hitboxes

• Arsenal Bibliotaph
Physical autos
They will do either a circle AoE or a donut AoE


• Arsenal Logos (undead)
Physical autos
Those mobs aggro players whose HPs are low OR players entering their hitboxes


• Arsenal Calca
Physical autos
They do a huge conal AoE in front of them. Be in melee range
Those mobs are also encountered in the elemental room associated to their element


• Arsenal Brina
Physical autos
They do a donut AoE. Be either very close or very far
Those mobs are also encountered in the elemental room associated to their element

• Arsenal Vodoriga (undead)
Physical autos
They will do a quick circle AoE
Those mobs are also encountered in the elemental room associated to their element
Those mobs aggro players whose HPs are low OR players entering their hitboxes

• Arsenal Skatene
Physical autos
They will do a circular AoE around them which sleeps anyone who gets hit
Those mobs are also encountered in the elemental room associated to their element

• Arsenal Tome
Physical autos
Those mobs don't aggro if you engage walk mode (sound based aggro)
They cast "Silence", which must be interrupted with Interject or Head Graze

• Arsenal Strix
Physical autos
They cast "On the Properties of Darkness", which removes a random buff from all players (including Spirit of the Remembered!)
⚠️ Melees or tanks use "Leg Sweep" or "Low blow" to stun them and interrupt the cast
